 Not all mushrooms are created equal—some grow fast, some need a little extra pampering, and some will flat-out refuse to fruit unless you get their environment just right. So, picking your mushroom variety isn’t just about what looks good in a stir-fry or what tincture you plan to brew. It’s about understanding what works for your setup, skill level, and patience.
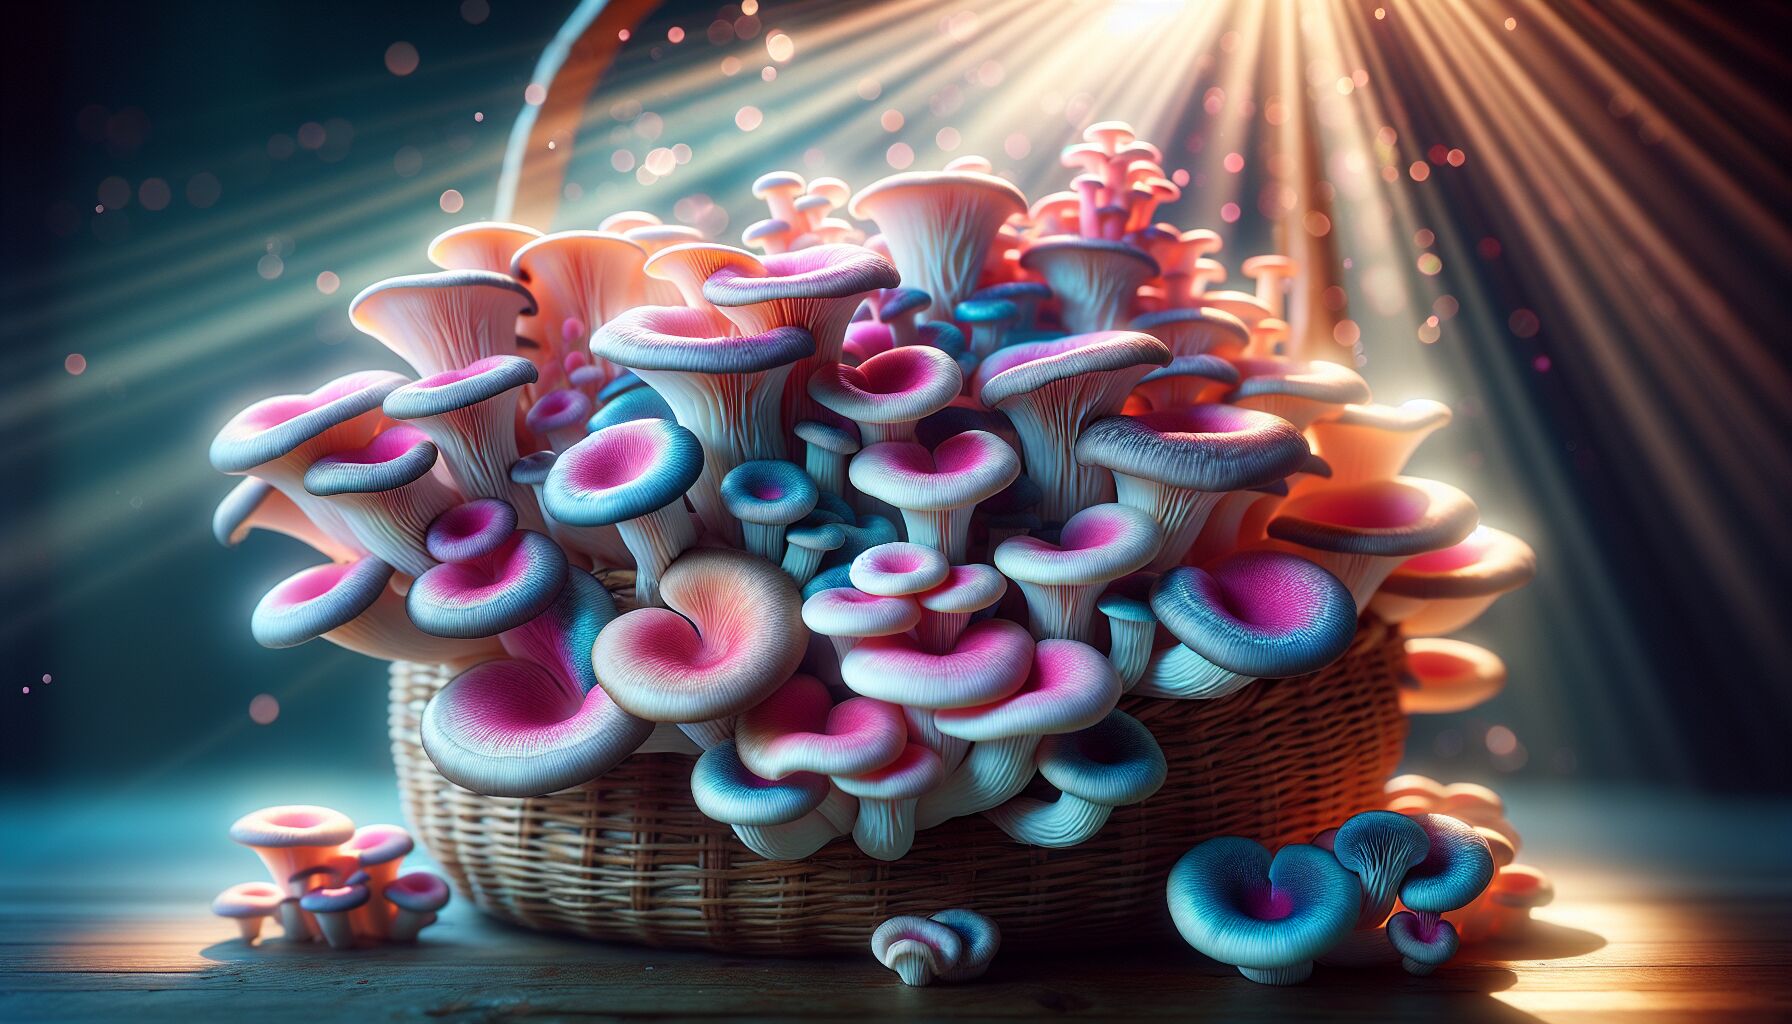
If you’re new to mushroom cultivation, you’re in luck—some varieties practically grow themselves. Oyster mushrooms (Pleurotus species) are often the go-to for beginners because they’re resilient and will happily colonize a range of materials, from straw to coffee grounds. They don’t need crazy-precise humidity or temperature controls, which means less stress and more mushrooms. Plus, they come in a stunning variety of colors—white, pink, even deep blue—so they bring a little visual drama to the process.
But let’s say you’re in this for more than just an easy win. Shiitake (Lentinula edodes) is another excellent option, especially if you want a meaty texture and deep umami flavor in your dishes. Unlike oysters, which love quick-growing materials, shiitake prefers hardwood logs or sawdust blocks, and they take their sweet time—often months—before they’re ready to fruit. If patience is one of your virtues (or you just enjoy that simmering anticipation), this might be your mushroom.
For those aiming beyond the plate—maybe medicinal benefits or self-sufficiency are on your mind—reishi (Ganoderma lucidum) and lion’s mane (Hericium erinaceus) deserve a spot in your lineup. Reishi isn’t something you’ll be tossing into a stir-fry; it’s tough, woody, and traditionally brewed into teas or tinctures. But its potential immune-boosting properties have made it a staple in herbal medicine for centuries. Lion’s mane, on the other hand, doesn’t just look cool (think pom-poms or shaggy white waterfalls); it’s celebrated for supporting brain function and nerve regeneration. If you’re growing mushrooms as an alternative food source and a health supplement, these two are worth the effort.
Of course, you could always go deeper—there are truffles, morels, and other gourmet fungi that demand seriously specialized conditions, but let’s be real: if you’re here to start growing at home, you probably don’t need a degree in fungal ecology. Stick with tried-and-true varieties, and once you’ve mastered those, maybe then it’s time to chase the elusive morel.
No matter what you pick, make sure it aligns with your setup. Got a small apartment? Oyster or lion’s mane in a tote or grow bag works great. Plenty of outdoor space? Shiitake logs can be stacked or tucked under trees. The right choice isn’t just about taste or benefits—it’s about what fits your lifestyle. Now, once you’ve picked the perfect variety, the next step is setting up a space they’ll actually thrive in…
Setting up your growing environment
 If you’ve ever tried keeping a houseplant alive and failed, don’t worry—mushroom cultivation is far more forgiving. That said, mushrooms have their own set of preferences, and before you welcome them into your home (or yard), you’ll need to create an environment where they can thrive. Think less “delicate orchid” and more “a damp forest floor with just the right amount of mystery.”
Light, or Lack Thereof
Unlike veggies, mushrooms don’t photosynthesize, so they don’t need light in the way plants do. But total darkness isn’t ideal either—most species use light as a signal to start fruiting. A dim, ambient glow from a fluorescent or LED bulb will do just fine. If you’ve got a basement or a closet with a bit of filtered light, that might be the perfect spot. Too bright, and your mushrooms may dry out. Too dark, and they might take longer to develop their mature forms.
Temperature and Humidity: The Dynamic Duo
Mushrooms have very particular opinions about temperature and humidity—too hot or too dry, and they’ll stubbornly refuse to fruit. Most varieties prefer a range between 55°F and 75°F (13°C to 24°C), though species like shiitake can tolerate cooler conditions, while tropical varieties like pink oyster crave warmth.
Humidity is where things get serious. Mushrooms love consistent moisture, so if you live somewhere bone dry, you’ll need to intervene. A simple trick? Use a humidity tent—a plastic sheet or grow bag with tiny holes to trap moisture while allowing air exchange. You can also mist your mushrooms daily or run a small humidifier nearby. If you’ve ever walked into a damp, earthy basement and felt the air cling to you—that’s the vibe your mushrooms will appreciate.
Fresh Air, but Not Too Much
Mushrooms need oxygen (just like us) and release carbon dioxide as they grow. Poor airflow can lead to weirdly elongated stems (just look up “leggy mushrooms”—it’s a thing). If you’re growing indoors, occasional fanning or setting up a small fan on low can help maintain the right balance. If you’re using a grow tent or container, make sure there are enough holes for decent air exchange.
Where Should You Set Up?
Now, the million-dollar question—where’s the best place to grow? That depends on the space you’ve got.
– Tiny apartment? A clear plastic tote with small holes drilled in it can act as a mini fruiting chamber. Keep it on a shelf or under a desk where the temperature stays stable.
– Garage or basement? Great for large-scale grows, especially if you can control humidity. Mushrooms don’t mind the lack of sunlight, and you’ll keep them separate from your living space.
– Outdoors? Some species, like shiitake on logs, or wine cap in garden beds, prefer fresh air and natural cycles. This is a great choice if you’re into self-sufficiency and want mushrooms as an alternative food source that pretty much grows itself in the right conditions.
A Few Surprising Challenges
You might assume mushrooms are low-maintenance—and you wouldn’t be wrong—but they do have their quirks. Contamination is the most common issue, especially if mold or bacteria sneak in before the mycelium is strong enough to defend itself. Sterile technique matters a lot during early stages, but once your grow is established, mushrooms tend to hold their ground.
Curious creatures (kids, pets, even housemates) might also get a little too interested in your setup. A cat knocking over a meticulously prepared grow bag is a setback you’d rather avoid. If you’re growing reishi or another long-term mushroom, find a spot where it won’t be disturbed for months—you’ll thank yourself later.
With your environment ready, the next step is preparing the substrate and inoculating it with your chosen fungi. That’s where the real magic begins…
Preparing the substrate and inoculation
Mushrooms aren’t like houseplants—you can’t just stick them in some soil, give them a little water, and call it a day. They need the right foundation to thrive, and that’s where the substrate comes in. Think of the substrate as the mushroom’s equivalent of soil—it’s the stuff that feeds the mycelium (the fungal network) and preps it for fruiting. And just like different plants prefer different soils, each type of mushroom has its own preferred “food.”
Choosing the Right Substrate
What works for one species might be downright useless for another. Oyster mushrooms? They’ll happily grow on straw, coffee grounds, cardboard, or even shredded paper—they’re not picky eaters. Shiitake, on the other hand, prefers hardwood sawdust or logs, requiring patience but rewarding you with rich, meaty mushrooms. Reishi, another wood-loving species, thrives in hardwood chunks or even buried logs outdoors.
If you’re growing mushrooms for self-sufficiency, it’s good to know that you can often repurpose waste materials. Used coffee grounds? That’s organic matter just waiting to be colonized (but use them fresh—older grounds can turn into a moldy mess). Cardboard? Soak it, layer it, and it becomes a great, low-cost growing medium for oysters. Even autumn leaves and wood chips can support species like wine cap mushrooms, which work beautifully next to a garden bed.
Sterilization vs. Pasteurization—What’s the Difference?
Before you introduce your mushroom spores or mycelium to the substrate, you need to clean the playing field. The last thing you want is aggressive mold or bacteria crashing the party before your mushrooms even get started. This is where either pasteurization or sterilization comes into play.
– Pasteurization: This method keeps some beneficial microbes alive while knocking out most competitors. It typically involves soaking or steaming materials like straw or wood chips at 140–160°F (60–70°C) for an hour. You can do this with a large stock pot, a metal drum, or even by stuffing a bucket with hot water and letting your substrate steep like a giant cup of tea. It’s a perfect approach for home-scale growers, especially for oysters and wine caps.
– Sterilization: This is a more aggressive kill-all method, commonly used for nutrient-rich substrates like supplemented sawdust or grain. It involves cooking the material at 250°F (121°C) under pressure—usually in a pressure cooker or autoclave. If you’re getting serious about mushroom cultivation and want to grow species like shiitake or reishi, this step ensures a clean slate for mycelium to spread without competition.
Inoculation—Introducing Your Mycelium
With a clean substrate, it’s time to bring in the real star of the show: mycelium. This is where mushrooms start their life, growing invisibly beneath the surface before bursting into fruiting bodies. You’ll inoculate your substrate using either grain spawn (which looks like grains coated in white fuzz) or liquid culture (a mycelium-rich suspension in water).
The process itself is straightforward:
1. Mix or layer the mycelium evenly through the substrate. For straw or sawdust, you can break up the spawn and distribute it by hand. If you’re working with logs, you’ll use a drill and plug the holes with spawn dowels, sealing them with wax to keep contaminants out.
2. Keep it clean—a little sterilization goes a long way. Wash hands, use gloves, and work quickly to reduce the risk of contamination. If you’re really serious, a glove box (a simple plastic tub with armholes) can give you a mini sterile workspace.
3. Pack or bag the substrate if you’re growing indoors. If using plastic bags or buckets, ensure there are air exchange holes, allowing the mycelium to breathe. This helps prevent excess CO₂ buildup, which can slow colonization.
The Waiting Game—Incubation
Once inoculated, the substrate enters the incubation phase, where the mycelium fully colonizes the material. This typically requires warm, dark, humid conditions—think of a cozy basement or a closet with stable temperatures (usually between 65–75°F depending on the species).
For the next few weeks, the mycelium will spread, turning the substrate white with dense fungal growth. This is an oddly satisfying process—one day, it’s a pile of sawdust and spawn; the next, it looks like it’s been covered in a snowdrift. During this stage, patience is key. Avoid peeking too often (contaminants love an open bag), and let the mycelium do its work.
Once the substrate is fully colonized and the mycelium has settled in, it’s time to shift focus—from undercover growth to encouraging your mushrooms to fruit. That’s where things start getting visually exciting…
Caring for your mushrooms through the growth cycle
 At this point, your mushrooms have settled into their substrate, the mycelium has taken hold, and you’re probably wondering… now what? Well, this is where patience meets payoff. Mushroom cultivation isn’t magic (though it sure feels like it sometimes), but if you’ve set things up correctly, your fungi will reward you soon enough.
Encouraging Fruiting: Time to Nudge Your Mushrooms into Action
Mushrooms don’t just sprout whenever they feel like it. They need a cue, something that signals, “Hey, it’s time to make mushrooms!” This usually means a change in their environment—lower temperatures, more humidity, and fresh air. Think of it like a cozy winter cabin suddenly opening its windows to a crisp autumn breeze. That shift “tells” the mycelium that conditions are prime for fruiting, and before you know it, tiny pins (baby mushrooms) start appearing.
For most varieties, reducing temperature by about 5–10°F is enough. Oysters love a drop to around 55–65°F, while shiitake prefers a slightly chillier cue, sometimes even soaking their colonized blocks in cold water to kick-start growth. Reishi doesn’t need a temperature drop as much as consistent humidity, and wine cap mushrooms do their thing once they’re exposed to fresh air and moisture in a garden bed.
And speaking of moisture—humidity is crucial. Mushrooms are mostly water, and dry conditions will stop them in their tracks. If you’re growing indoors, misting your growing setup a couple of times a day should do the trick. Got a larger operation? A small humidifier set to around 80-95% relative humidity works like a charm.
Recognizing Growth Stages: The Mushroom Timeline
Now comes the fun part—watching them grow. Most cultivated varieties follow a similar timeline:
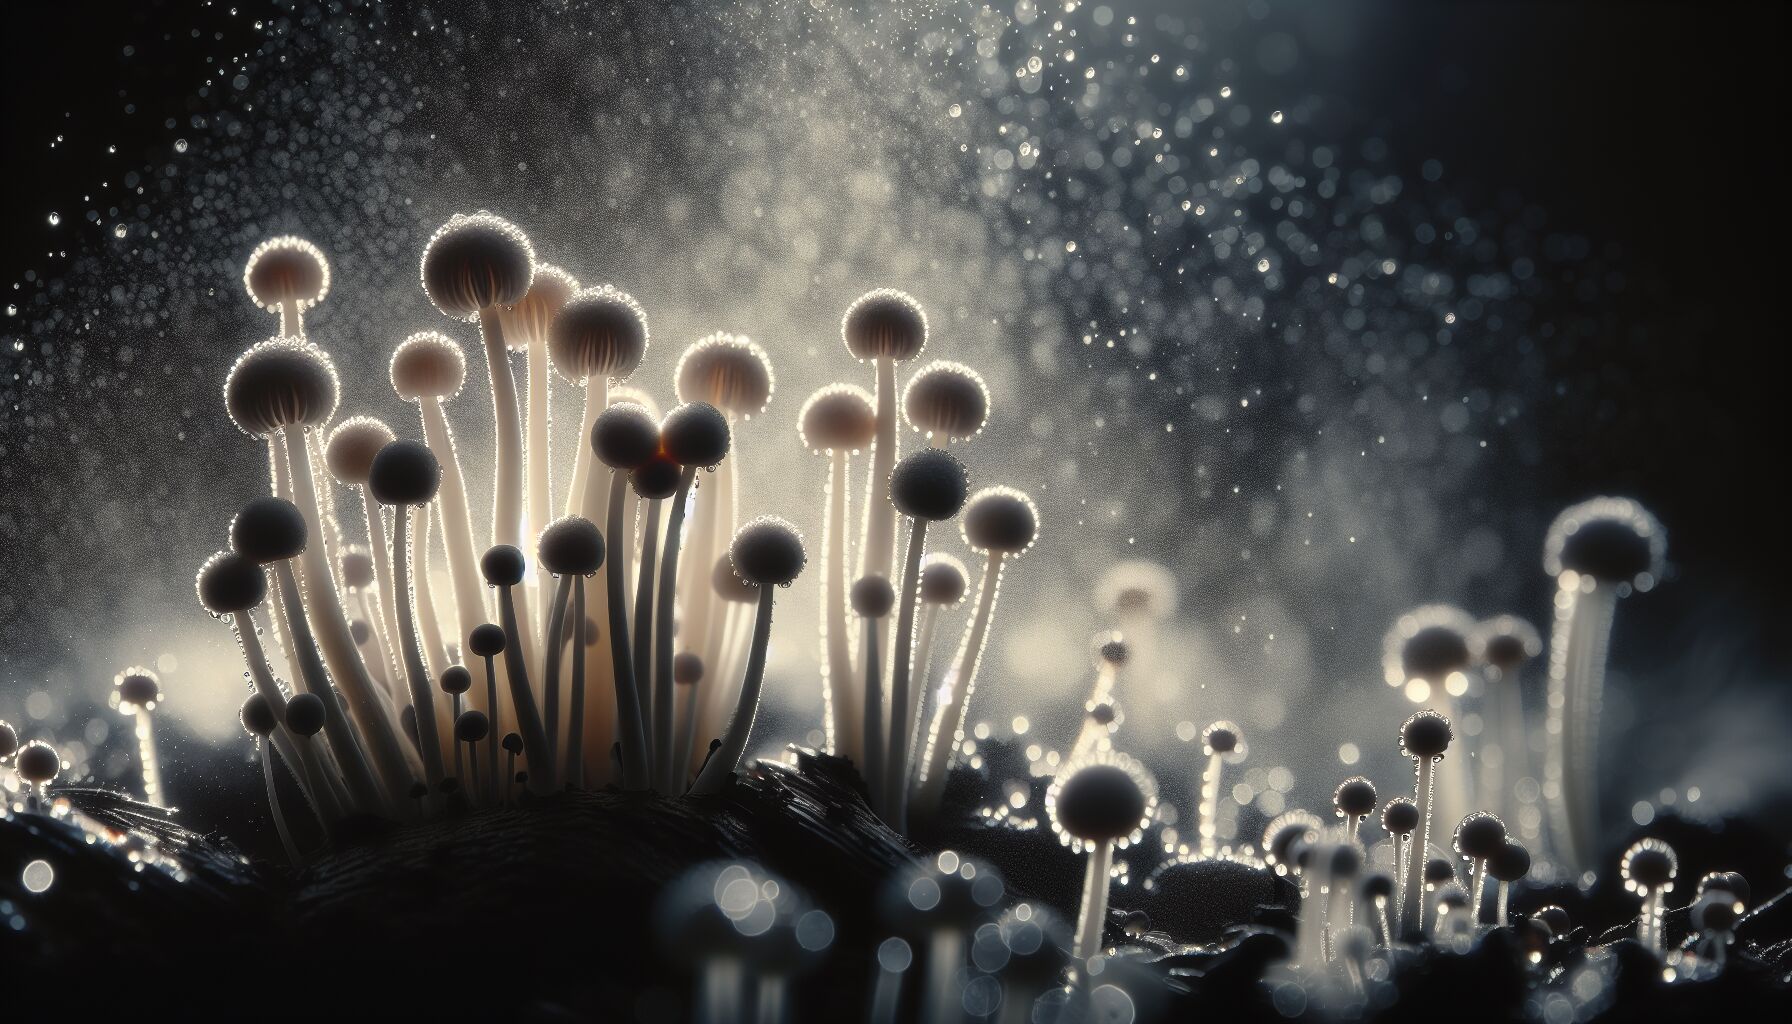
1. Pinning: The first signs of fruiting! These tiny, firm bumps pop up on the surface of your substrate. They almost look like pearls or tiny buttons, and they usually show up within a few days of introducing fresh air.
2. Baby Mushrooms (a.k.a. Primordia): The pins begin elongating, forming recognizable mushroom shapes with stems and caps. This stage moves fast, sometimes over just a few days.
3. Mature Mushrooms: You’ll know they’re ready when the caps open up and take on their final shape—oysters get broad, graceful caps, shiitakes develop thick, rich brown tops, and lions’ mane take on their fluffy, cascading appearance.
A Few Hiccups Along the Way
It’d be nice if every mushroom behaved perfectly, but nature isn’t always so cooperative. Expect a few challenges:
– Thin, stretched-out stems? Your mushrooms need more fresh air. Increase ventilation, fan them gently throughout the day, or adjust air holes in your growing container.
– Mushrooms refusing to form? They might need more humidity or a stronger temperature cue. Try misting more often or giving your setup an overnight temperature dip.
– Mold or contamination? If you spot green, black, or fuzzy blue patches that aren’t part of the mycelium, you might have an unwanted guest. Remove contaminated sections carefully, improve airflow, and double-check your humidification setup—a stagnant, overly wet environment is a mold paradise.
One of the best parts of mushroom cultivation is how forgiving it is. Unlike finicky vegetable gardens or houseplants that wilt dramatically at the first sign of trouble, fungi usually give you wiggle room to tweak things as you go. They’re persistent. They want to grow. If you help them with the right humidity and airflow, they’ll almost always return the favor.
And when they do? That’s when you finally step into one of the most satisfying parts of the entire process—harvesting. It’s one thing to grow mushrooms, but using them for food, medicine, and alternative food sources? That’s where the real joy begins.
Harvesting and using mushrooms for food and medicine
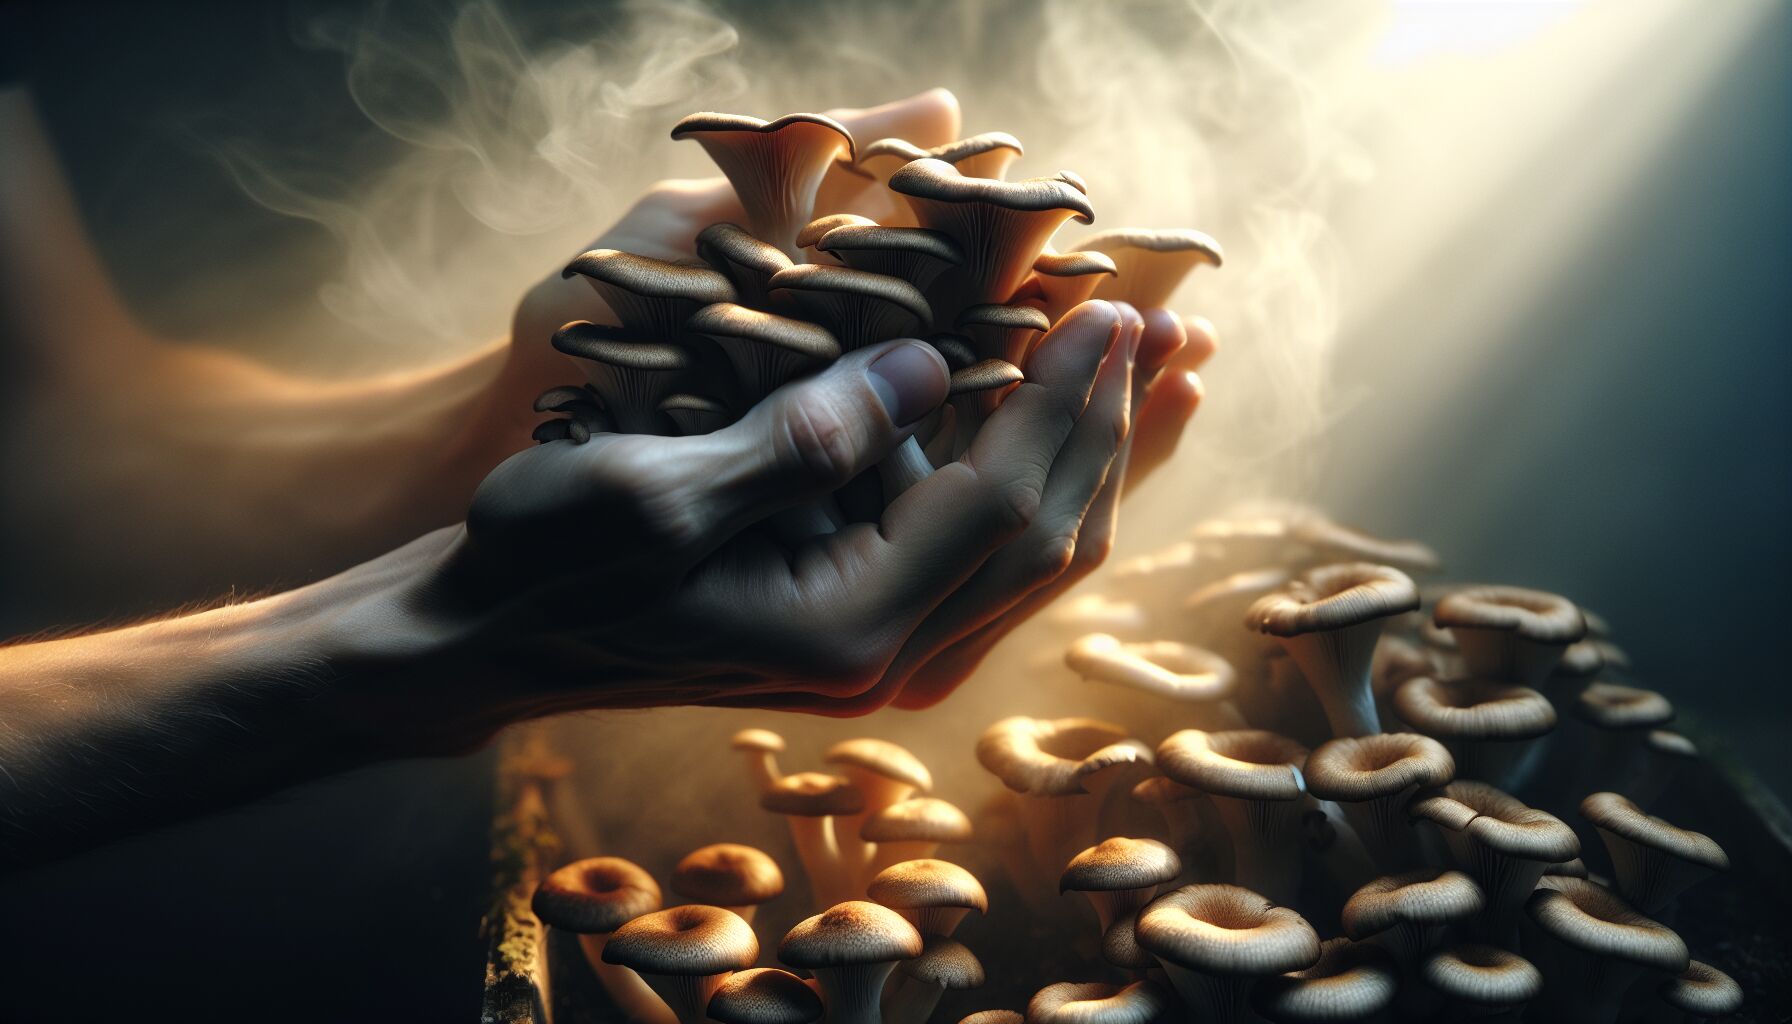 The moment you’ve been waiting for has finally arrived—harvest time. After weeks of watching your mycelium spread, misting your setup like a devoted plant parent, and making sure your temperatures and humidity are just right, your mushrooms are ready to be picked. But here’s the thing: timing matters. Pick them too early, and they won’t be fully developed. Wait too long, and they’ll start dropping spores everywhere (not the end of the world, but messy). Getting it just right makes all the difference, whether you’re cooking up a gourmet meal or preparing them for medicinal use.
How Do You Know When to Harvest?
Mushrooms develop fast—sometimes overnight. One evening, they’re tiny and dome-shaped; the next morning, they’ve practically doubled in size. Generally speaking, your mushrooms are ready to harvest when:
– Oyster mushrooms: Their caps become broad and slightly upturned at the edges. If you wait too long, they’ll start releasing spores, which means more mess and potentially weaker flavor.
– Shiitake: Their caps should be fully expanded but still firm. If the edges start curling upwards dramatically, they’re past prime flavor.
– Lion’s mane: This one’s all about texture. If it looks like a full, fluffy pom-pom but hasn’t started elongating too much, grab it. If it turns stringy, you’ve waited too long.
– Reishi: Unlike other mushrooms, reishi isn’t harvested for its fresh texture. It’s ready when the edges turn from white to reddish-brown and the surface hardens slightly.
A simple rule of thumb: harvest just before full maturity for the best flavor, texture, and potency.
How to Harvest Without Harming the Mycelium
Mushrooms aren’t like fruits or vegetables—you’re not uprooting a plant and saying goodbye to it forever. The mycelium underneath is still very much alive and, in many cases, can keep producing new flushes of mushrooms if handled correctly.
– For cluster mushrooms (like oysters & lion’s mane) – Grasp the base of the cluster and gently twist or cut it free at the point where it meets the substrate. Avoid pulling too hard, as you might disturb the underlying mycelium.
– For single-fruiting mushrooms (like shiitake) – Snip the stem cleanly with a sharp knife close to the substrate. A clean cut reduces the risk of introducing bacteria or contaminants.
– For log-grown shiitake or reishi – A small saw or sharp knife can help separate tougher mushrooms without damaging the log, allowing for future harvests.
The beauty of mushroom cultivation is that many species will fruit multiple times. After the first harvest, keep up with misting and air circulation, and you’ll often get a second or even third flush. A little patience can mean twice the reward.
What Now? Using Your Mushrooms
With fresh mushrooms in hand, it’s time to enjoy them—and whether you’re cooking or preserving them for alternative food sources, there’s no shortage of ways to put them to good use.
Cooking with Fresh Mushrooms
There’s no comparison between freshly harvested mushrooms and their store-bought counterparts. They’re firmer, more flavorful, and far more satisfying to cook with. Here are a few simple ways to enjoy them:
– Sautéed with butter and garlic – Sometimes, the simplest approach is the best. A quick cook in a hot pan intensifies their umami-packed flavor.
– Stir-fried – Oysters and shiitake shine in a good stir-fry, absorbing sauces beautifully while maintaining a satisfying chew.
– Roasted – Lion’s mane, when sliced and roasted, can mimic the texture of crab or lobster—a fantastic plant-based protein for seafood lovers.
– Soup and broth – Medicinal mushrooms like reishi and shiitake add depth to broths, and a long, slow simmer extracts the beneficial compounds while layering in rich, earthy notes.
Preserving for Later
Not ready to use them all at once? No problem. There are several ways to preserve your bounty for later:
– Drying – This is the go-to method for medicinal mushrooms like reishi and shiitake. A dehydrator works best, but low-heat air drying in a well-ventilated space does the trick too. Once dried, they can be stored almost indefinitely.
– Freezing – While some mushrooms (like oyster mushrooms) get a bit mushy when frozen raw, a quick sauté before freezing helps preserve their texture.
– Powdering – Once dried, grinding mushrooms into a fine powder makes it easy to incorporate them into soups, smoothies, or homemade capsules. Lion’s mane and reishi are particularly popular for this.
– Making tinctures – If you’re using mushrooms for their medicinal properties, double extraction tinctures (combining alcohol and water extractions) can yield highly concentrated extracts.
A Gateway to Self-Sufficiency
For anyone interested in self-sufficiency, growing mushrooms at home opens up a world of possibilities. They don’t take up much space, they provide a steady food source with minimal input, and their medicinal benefits make them a valuable addition to any home apothecary. Whether you’re looking to reduce reliance on grocery stores, explore sustainable food sources, or experiment with home medicine, mushrooms fit right in.
Plus, they don’t just nourish the body—they enrich soil, break down organic waste, and contribute to a more circular, regenerative system. Even after harvesting, leftover substrate can be composted or used to inoculate outdoor beds, continuing the cycle of growth.
And that’s the beauty of mushroom cultivation—it’s not just about what you harvest today, but about the ongoing relationship you build with these incredible fungi. With each grow, you learn more, refine your process, and maybe even experiment with new species. Whether for food, medicine, or sustainability, there’s always more to explore.